
Reducing Robot Weight - Best Practices & Strategies
A point of particular importance within the FRC space is the challenge to build within the weight limit. Despite FRC being around for more than 20 years, there is still a continual struggle with designing and building robots to be less than the designated weight limit (recently, 125 lbs). There have been numerous discussions on the topic of reducing robot weight, resulting in hundreds of different practices and strategies used by teams around the world. This blog aims to consolidate these best practices and strategies into a single document.
- Design Considerations
- Motors & Power Transmission
- Drivetrain
- Pocketing
- Fasteners
- Accurate CAD Weights
- Smaller is Better
- Gears & Pulleys
- Pneumatics
- Plastics
- Shafts & Intakes
- Tube Wall Thicknesses
- Electrical
- Weighing In
- Credits
- Missing Something?
Design Considerations
Plan a Weight Budget From the Start
Right from the beginning, your team should discuss and create a weight budget for your robot - X pounds for the drivetrain, X pounds for this sub-system, so on and so forth (including your control system!). When doing this, give yourself an allowance of 5-10 pounds as weight seems to sneak out of nowhere sometimes.
Monitor The Weight As You Go
As you progress through the design and build process, continue to think about lightness at every step and weigh as you go. If you only realize you’re overweight once your robot is assembled, it’s often too late to make any meaningful changes.
Mechanism Compliance
Does this mechanism need to be rigid or can it compliantly bend when it hits something? If applicable, make your mechanisms flex more by having more compliance (polycarbonate). Energy is force times distance so if you can increase the distance your part deforms, you resultantly decrease the force the part must withstand from an impact. Oftentimes compliant mechanisms end up being lighter than very rigid mechanisms due to material selection.
Mechanisms That Do More Than One Job
If your team is capable of something like this, think about designing a mechanism to do more than one task - a lot of this time this ends up saving some weight. Examples of multitasking mechanisms include elevators doubling as climbers in 2018 (254) as well as intake climbers in 2019 (2056).
Does This Have Functionality?
Reduce or completely eliminate things on your robot that don’t have a competitive function. Some expectations to this point are things like sponsor stickers or powdercoat (because who doesn’t like to look good?).
Motors & Power Transmission
Brushless Motors
If your team can afford them, use them wherever possible. By switching a CIM with a NEO you save 1.85 pounds - that’s enough to make or break an important mechanism.
Evaluate Motor Selection
It doesn’t matter if you choose to use a lightweight motor if you end up needing a heavy gearbox. Typically, the less reduction required the better.
Use A Lighter Transmission Method
Instead of using a fairly hefty 3:1 VersaPlanetary, you could probably save quite a bit of weight by simply using a 3:1 belt reduction from the motor to the output.
Drivetrain
Be Careful Not To Skimp On Your Drivetrain
If there was a place to lighten the least, it would be your drivetrain. Arguably the most important mechanism on your robot, you really want to ensure that your drivetrain can hold up under a competition setting. With that being said, teams have had success using 1/16” wall tubing for their front and back rails. I would say this decision varies from game to game; if it’s a game where defense is relentless (2019) and you’re going to be receiving a lot of that, maybe it’s best to stick to ⅛” wall.
Be Mindful of Weight Distribution
In addition to creating a robust drivetrain, you should also be thinking about the weight distribution of your robot. A lot of weight above the drivetrain with very little weight on the drivetrain is a surefire way to tip mid match. A top heavy robot with a fragile chassis is often an inadvertent oversight so it’s best to be thinking about this throughout the design process.
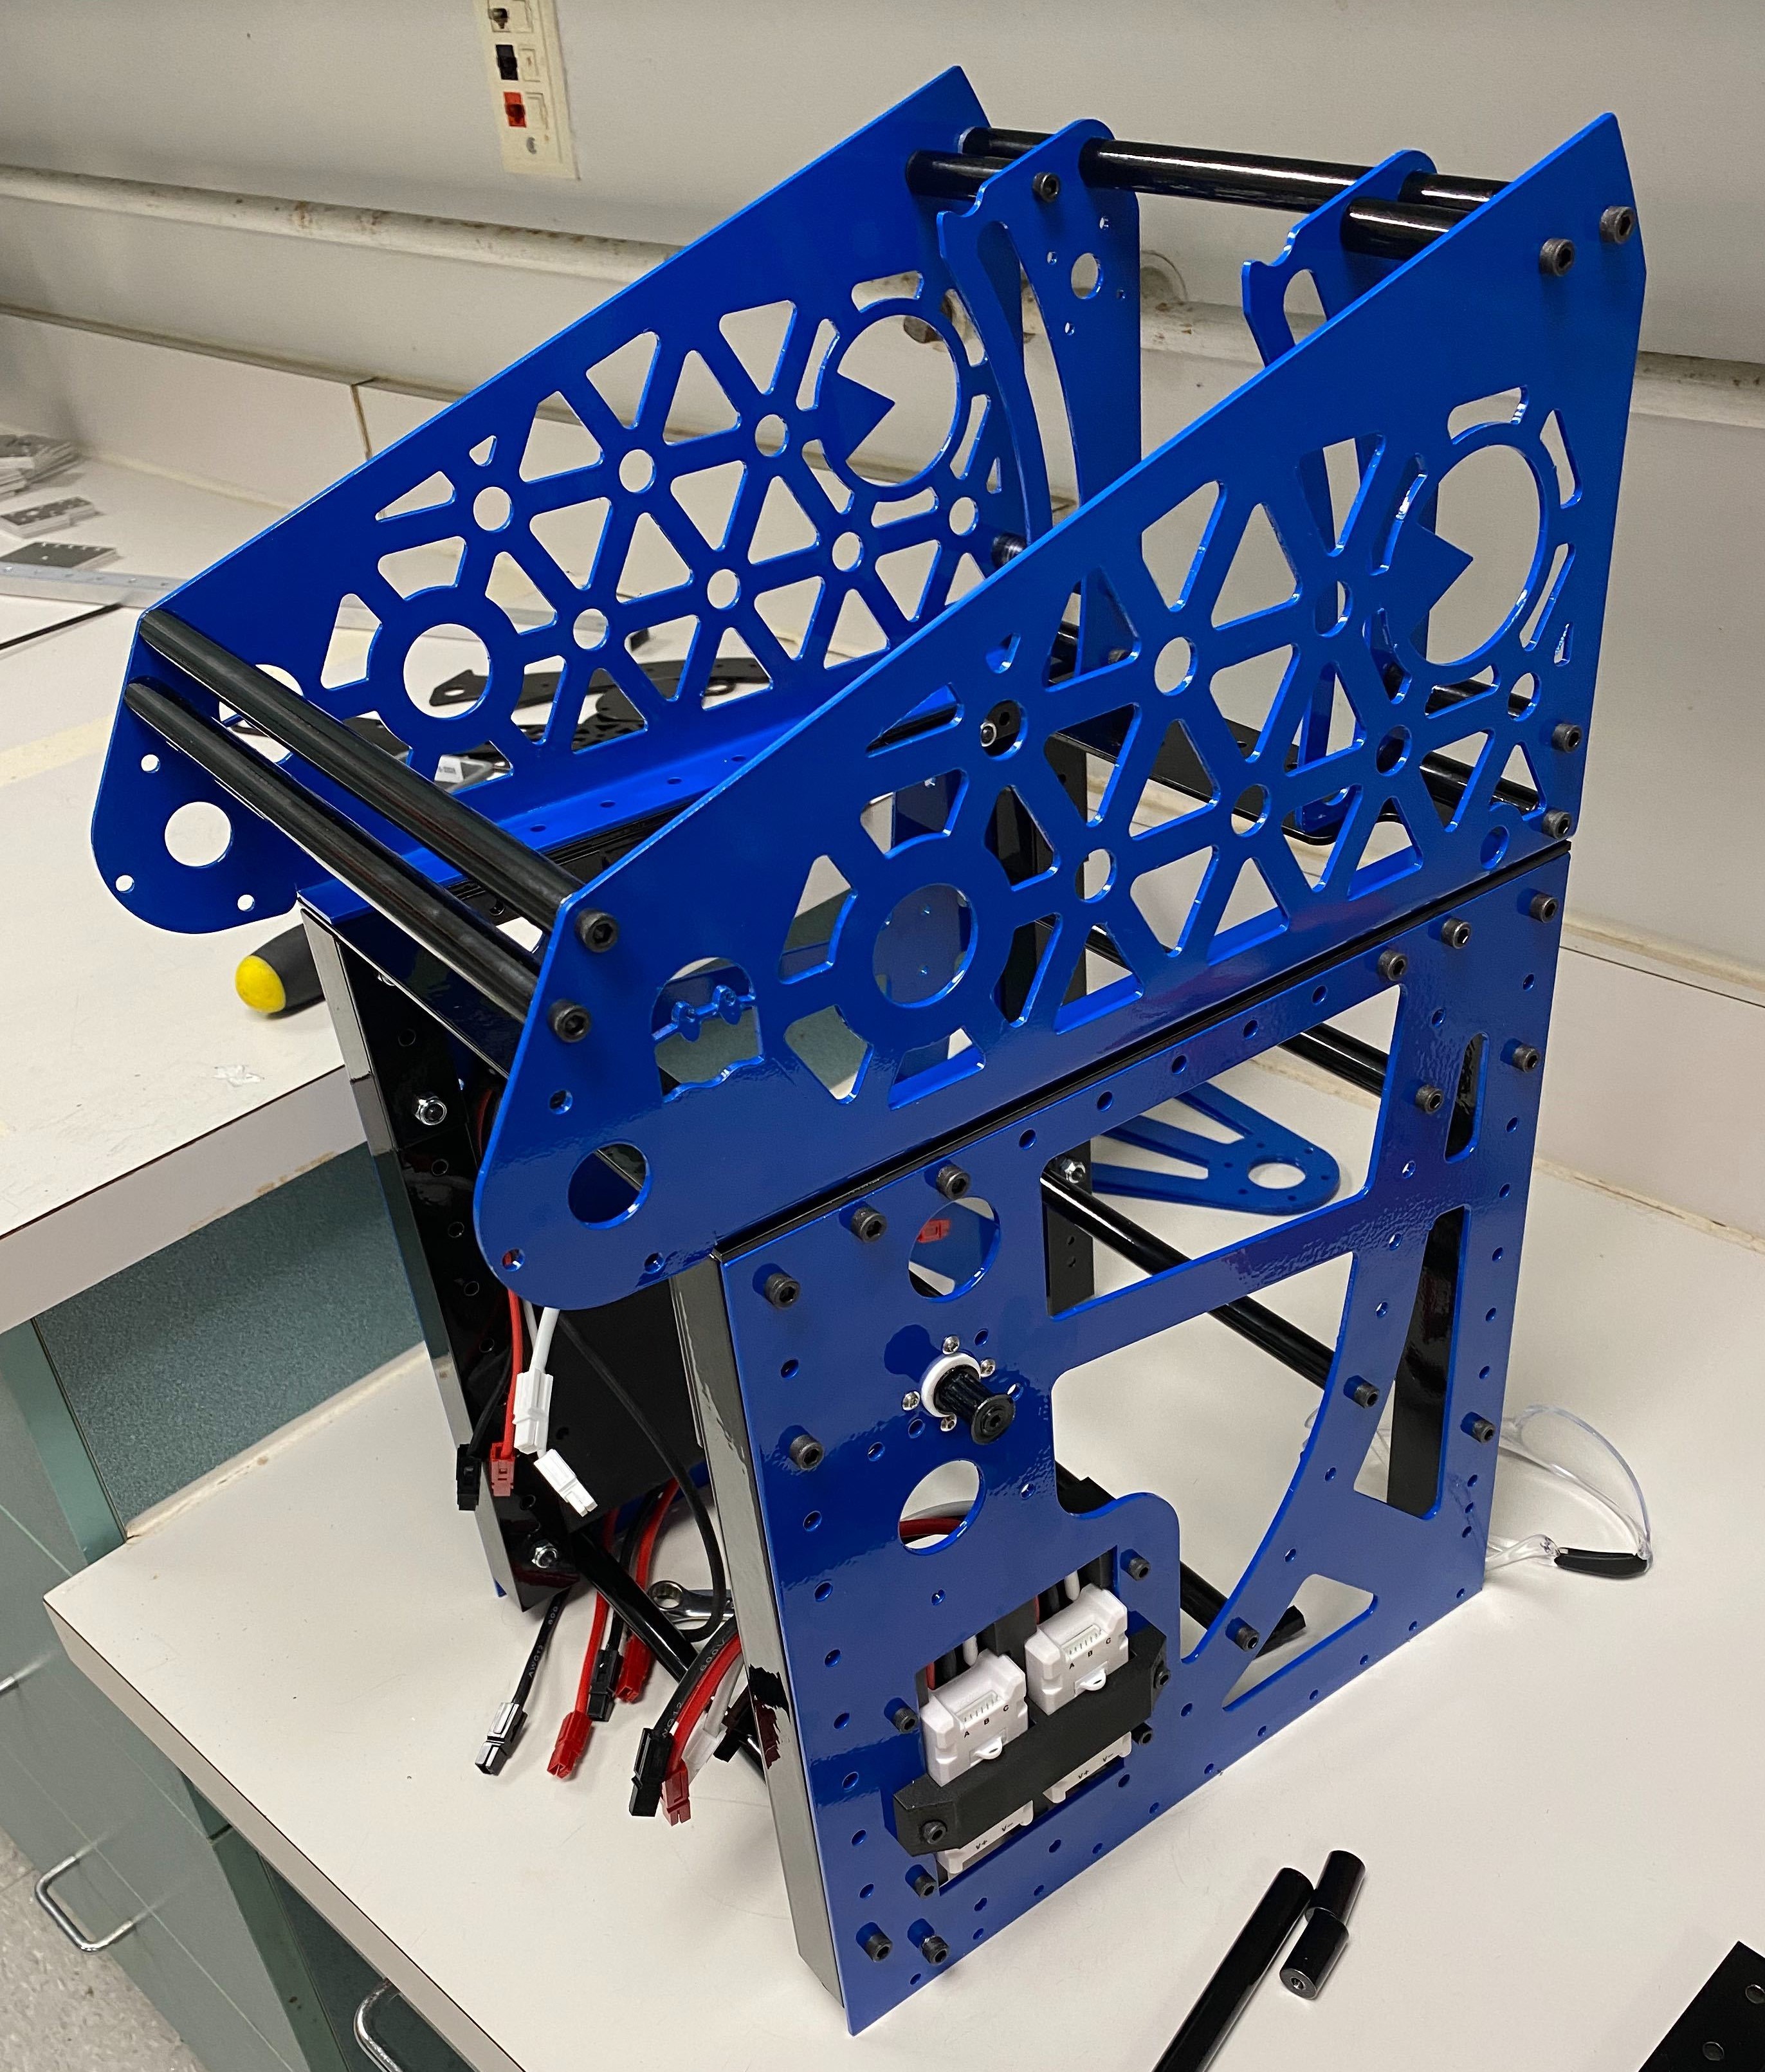
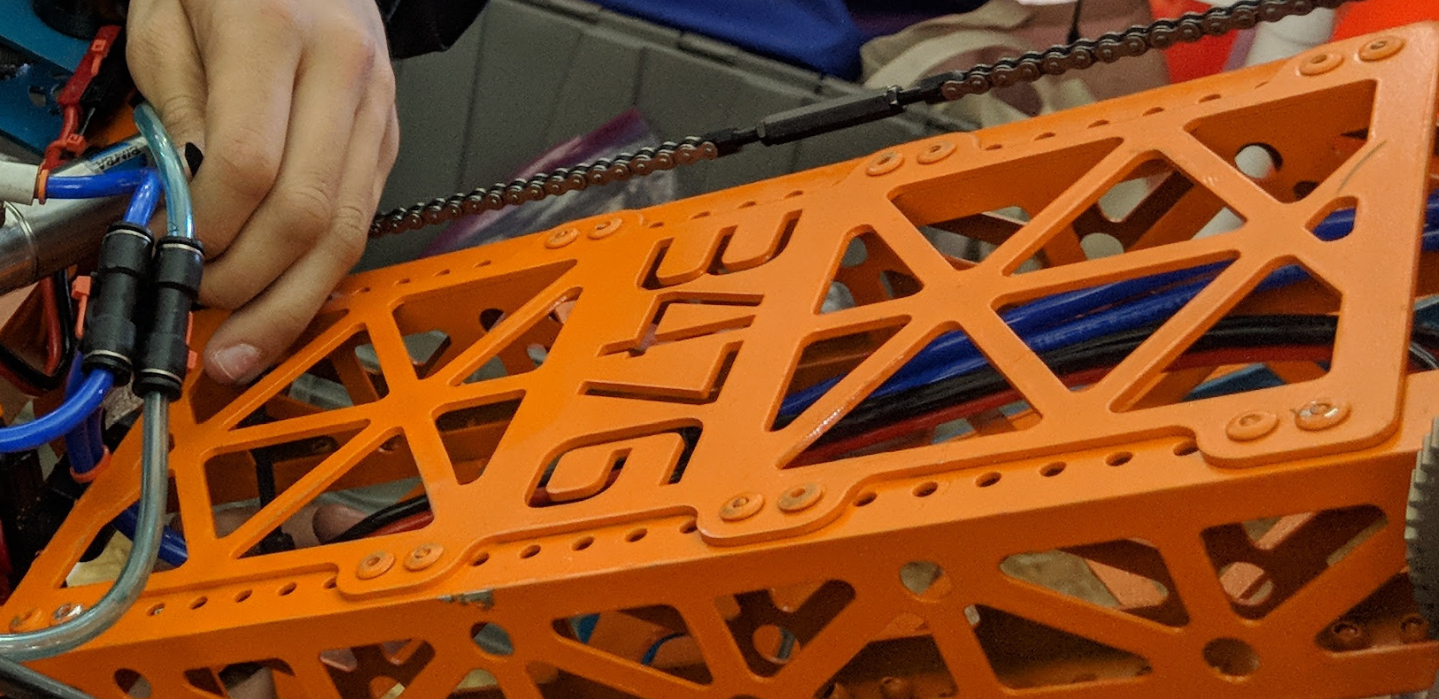
Pocketing
“Scallop” The Edges of Plates
By removing unnecessary attachment points between plates and what it’s providing rigidity to, you can end up saving quite a bit of weight. Be mindful when doing this however - assess where material can be removed and how much can be removed (this comes with experience as well). Between the removal of material and the reduced amount of fasteners needed to attach the plate, this is a win-win if done correctly.
Code Orange Pocketing
Fasteners
Use Smaller Fasteners
Where you can, use smaller fasteners. Using 10-32 bolts instead of ¼-20 bolts in numerous places will end up freeing up some weight.
Use Rivets
Aluminum rivets instead of bolts in low-load connections saves, surprisingly, plenty of weight.
Avoid Aluminum Fasteners
Aluminum threaded fasteners are probably better left off of robots, as they’re easy to over-torque and break. If you do need them for whatever reason, use them for only large hardware with coarse threads and handle them with care.
Accurate CAD Weights
Have A Complete & Accurate CAD Library
Besides being a great organizational habit and time saver, a complete and accurate CAD library with correct weights will make your designers’ job a whole lot easier. Not having to manually enter the weights of COTS parts or simply guessing the weight of a mechanism can effectively guide your design team into making better, more informed decisions. Some already existing CAD libraries include Spectrum’s CAD Library and MKCad for Onshape.
Assign Materials
In addition to a complete CAD library, it is highly recommended to put forth effort in assigning materials to all of your parts (plates, tubes, etc.). Your drivetrain CAD weight won’t be accurate if your tubes and plates aren’t assigned to a proper aluminum material. With all that said, leave yourself a buffer - a 125 pound robot in CAD will not weigh 125 pounds in real life, no matter how accurate your CAD weights are.
Smaller is Better
Make Your Robot As Small As Possible
As a consequence of the square-cube law, shaving off even a couple of inches from your frame perimeter can make a world of difference in the long run. This isn’t to say that you should sacrifice mechanisms because you’ve set the length and width of your robot too small from the get-go - don’t do this.
Smallest Possible Wheels, Gears, Belts, and More
Using 6” wheels when you can instead use 3-4” wheels is a bigger waste of weight than most may realize. Smaller wheels are not only lighter, but they also require less of a gear reduction for the same effective robot speed. The combination of six to eight lighter wheels and a lighter reduction makes a big difference in robot weight. This principle applies to numerous other types of hardware, including gears. If you need a 2:1 gear reduction, don’t use a 40t gear and an 80t gear unless it’s necessary. This sounds obvious, yet I’ve had plenty of firsthand experiences with silly mistakes like this.
Gears & Pulleys
Aluminum vs. Steel Gears Depends on Application
Using aluminum gears instead of steel gears is an acceptable practice in many applications and saves a large amount of weight. However, it is highly, highly recommended NOT to use aluminum gears in drivetrain assemblies. Additionally, I recommend, as a team, deciding what tooth count gears are acceptable for aluminum and which are not (example: aluminum gears above 24t, steel gears below 24t).
Use Pocketed Gears
Whether it be spending the extra $3 on WCP or doing it yourself, use pocketed gears when possible. Pocketed gears can save quite a lot of weight, especially when you get into the high tooth count gears. 971’s 2016 robot saved about 2 pounds by lightening their gears.
3D Print Your Pulleys
In many cases you are able to use your own 3D printed pulleys. In addition to the weight and money savings, printed pulleys result in a lot more freedom design-wise. Integrating designs and creative uses often become a great deal easier with your own printed pulleys.
Reduce Infill on 3D Printed Parts If Possible
This one isn’t likely to save a whole lot of pounds but is still an important consideration when printing parts. The number of walls you have will generally have a greater impact on part strength than infill will - for more information, check out Markforged’s Article: 3D Printing Settings Impacting Part Strength.
Pneumatics
Do You Need A Pneumatics System?
Discarding pneumatics completely is a bold but often redeeming move. Getting rid of pneumatic systems drastically reduces weight, however sometimes a well positioned piston can accomplish things lighter and better than motors. Ultimately, this decision will vary from team to team - some use pneumatics galore while others rarely do.
Use Aluminum Fittings Instead of Brass
Wherever possible, use aluminum fittings instead of brass.
Use An Appropriately Sized Manifold
Using an unnecessarily large manifold is a silly yet common mistake that can cost you a fair amount of weight. If you know you need 2 cylinders, perhaps acquire a 3 port base; a one port buffer is good for later (expected or unexpected) additions.
Use Smaller Tubing
In some applications, give some thought to using smaller pneumatic tubing. Smaller fittings and tubing provides a nonzero weight reduction, especially if you end up having long tube runs (which is often the case).
Smaller Regulators
Try to avoid using the huge pressure gauges and inline pressure regulators that the KOP comes with. Automation Direct has smaller and lighter push-to-connect variants available here.
Plastics
Does That Part Need to be Metal?
A lot of people would be stunned at how much polycarbonate is used on a lot of great robots. Not everything needs to be metal and, in fact, polycarbonate works better than aluminum plates in many applications. Specifically if your mechanism needs to survive hits, it is much easier to build the mechanism to simply bend out of the way with polycarbonate than it is to build the mechanism to survive without yielding with aluminum.
Low Load Plastics Can Be Very Thin
For robots with large surface areas of low load plastic sheets, switch to thinner plastic. For example, WCP’s 1/32” polycarbonate is great for things like sponsor panels and hopper walls.
Shafts & Intakes
Consider the Necessary Size of Your Hex Axles
Does that hex shaft really need to be .5”, or can you instead use .375” hex? Often people & teams get into the habit of defaulting every hex shaft to .5” when in reality .375” would work in many circumstances.
Optimize Your Intake Hardware
Intakes often span the width of your robot, resulting in some pretty long axles and rollers. To further the above point on the size of your shafts - also evaluate the lengths. If constructing an intake out of round tube rollers, use hubs or a dead axle at the ends of the roller to get rid of the unused middle portion of the hex shaft. If the intake allows for it, use smaller and thinner roller tubes; same thing with wheels - if possible, use smaller and fewer wheels.
Utilize Bushings In Place Of Bearings
Use bushings instead of bearings in low rotary points as they are typically lighter and smaller than bearings. Use case examples include intake pivots and one time use mechanisms.
Tube Wall Thicknesses
Use 1/16” Wall Instead of ⅛” Wall
Many people and teams have this preconceived notion that 1/16” wall tubing is rarely applicable because it’s too thin and that ⅛” wall is simply just better. In reality, ⅛” wall is necessary for only a small portion of FRC applications; this includes, but is not limited to, superstructures and drivetrains (even some capable teams’ drivetrains are 1/16” wall tubing today). To compare the strength and weight savings of 1/16” vs ⅛” wall tubing, see the below FEA analysis done by @JamesCH95.
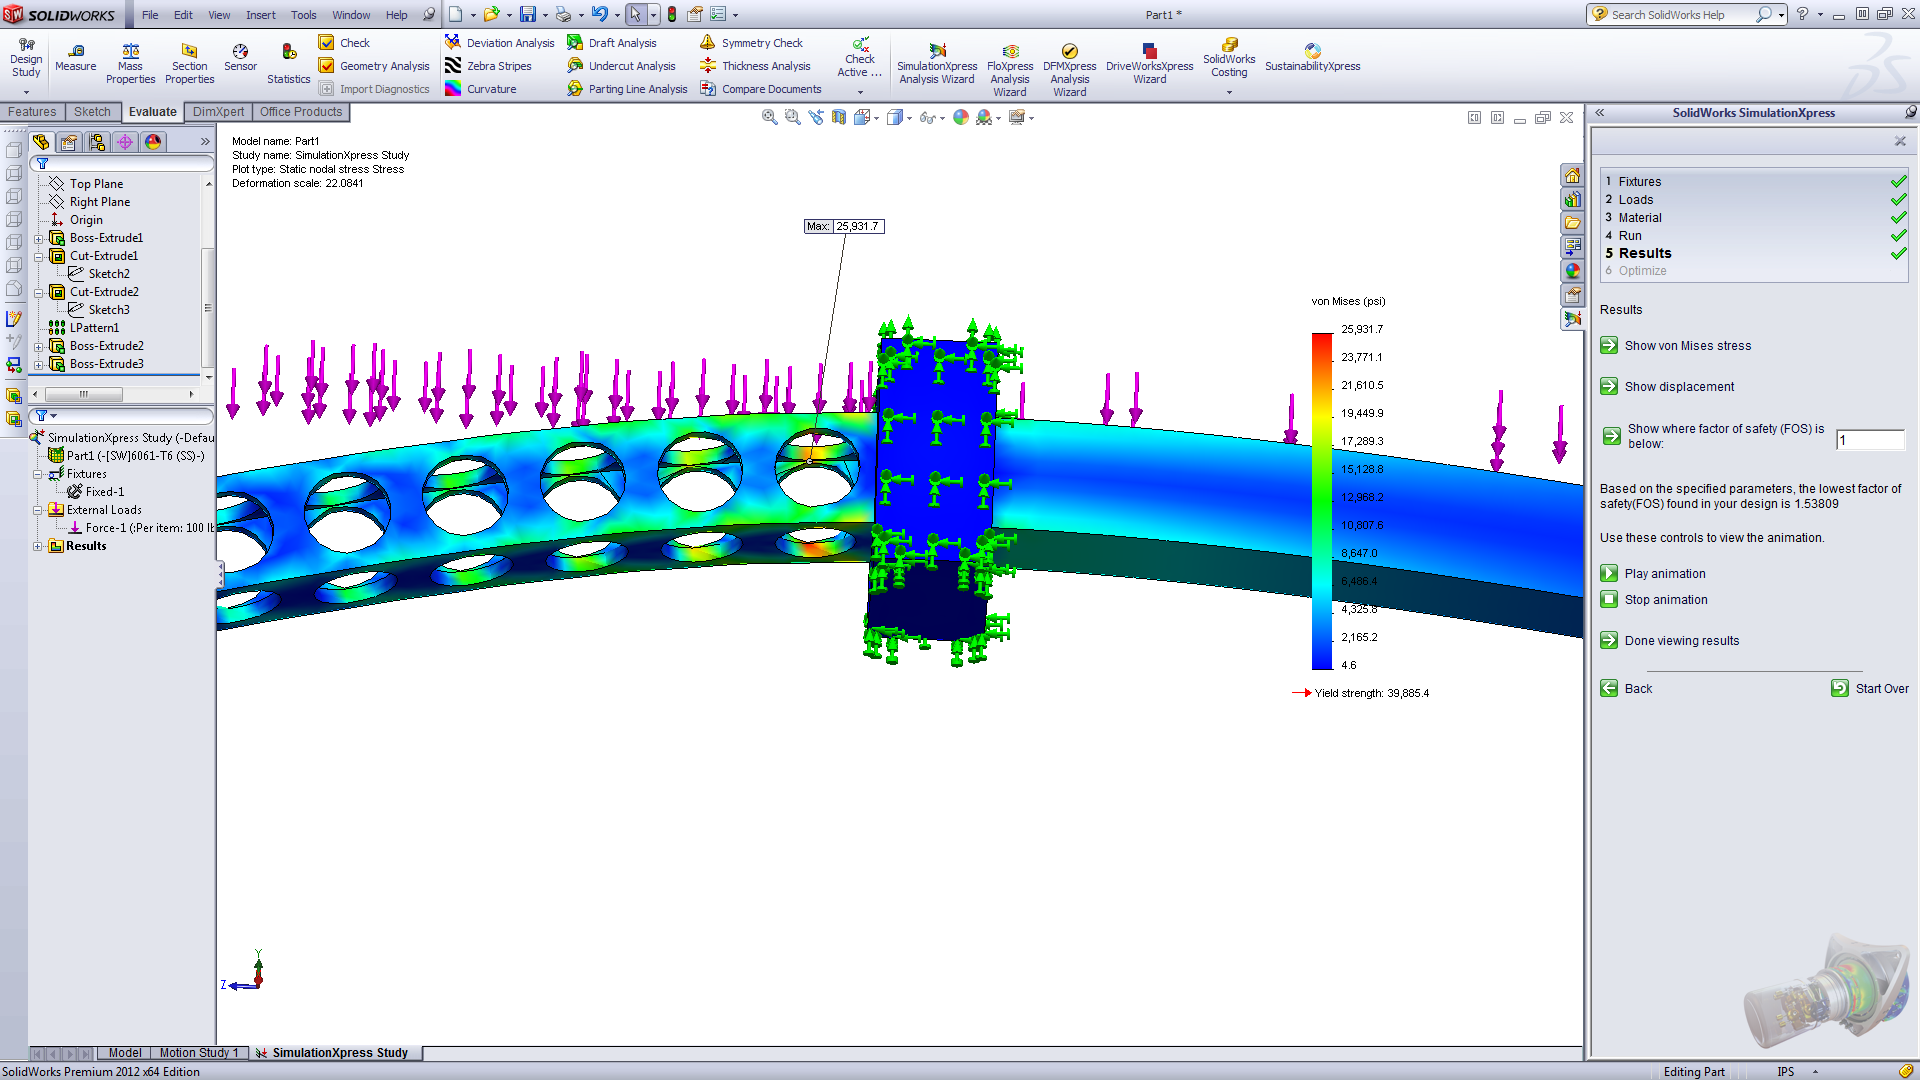
"⅛” walled tube with the same linear density (weight per unit length) as a 1/16” walled tube. The 1/16” wall tube was substantially stronger because it is not riddled with stress concentrators. Something like 2-4x as strong."
Additionally, thinner walled tubing is generally cheaper and the cost is certainly lower since you don’t need to machine it a lot like you might with ⅛” wall.
⅛” wall tubing still does have its uses however. It is advantageous to use ⅛” wall if you need to clamp or tap the tube wall for a bolt. Furthermore, you don’t need to be as nervous about crushing ⅛” wall when bolting through it.
Electrical
Try to keep the battery, main breaker, and PDP close to each other.
This reduces the length of large gauge wire that needs to travel between these components. Wire weight is nontrivial and adds up quickly - try to minimize the length of your wire runs, especially for larger gauge wire. Keeping wires runs short is also just a generally good practice, as transmitted power diminishes over distance.
Weighing In
As obvious as it sounds - make sure to remove your battery and bumpers from your robot before you weigh it. I’ve experienced this last minute “we’re over the weight limit” panic a couple of times - and a nonzero amount of these occurrences can be attributed to this silly mistake.
Credits
The majority of the content in this post is from the discussion on this ChiefDelphi thread and what I could think of. Thank you to everyone who contributed to this insightful conversation - many of you delivered your two cents better than I could’ve (that’s why you might notice almost a direct ctrl-c ctrl-v of your comment!).
Missing Something?
If I forgot to mention something that you think would fit well into this blog, please don’t hesitate to contact me - this goes for any mistakes you think I may have made!